You've got your event idea. You know what kind of market you want to run. Now you need a way to collect vendor applications and get the right people in your booths. A vendor registration form is how you do that.
Done right, it saves you hours of back-and-forth and helps you run a more organized event from day one.
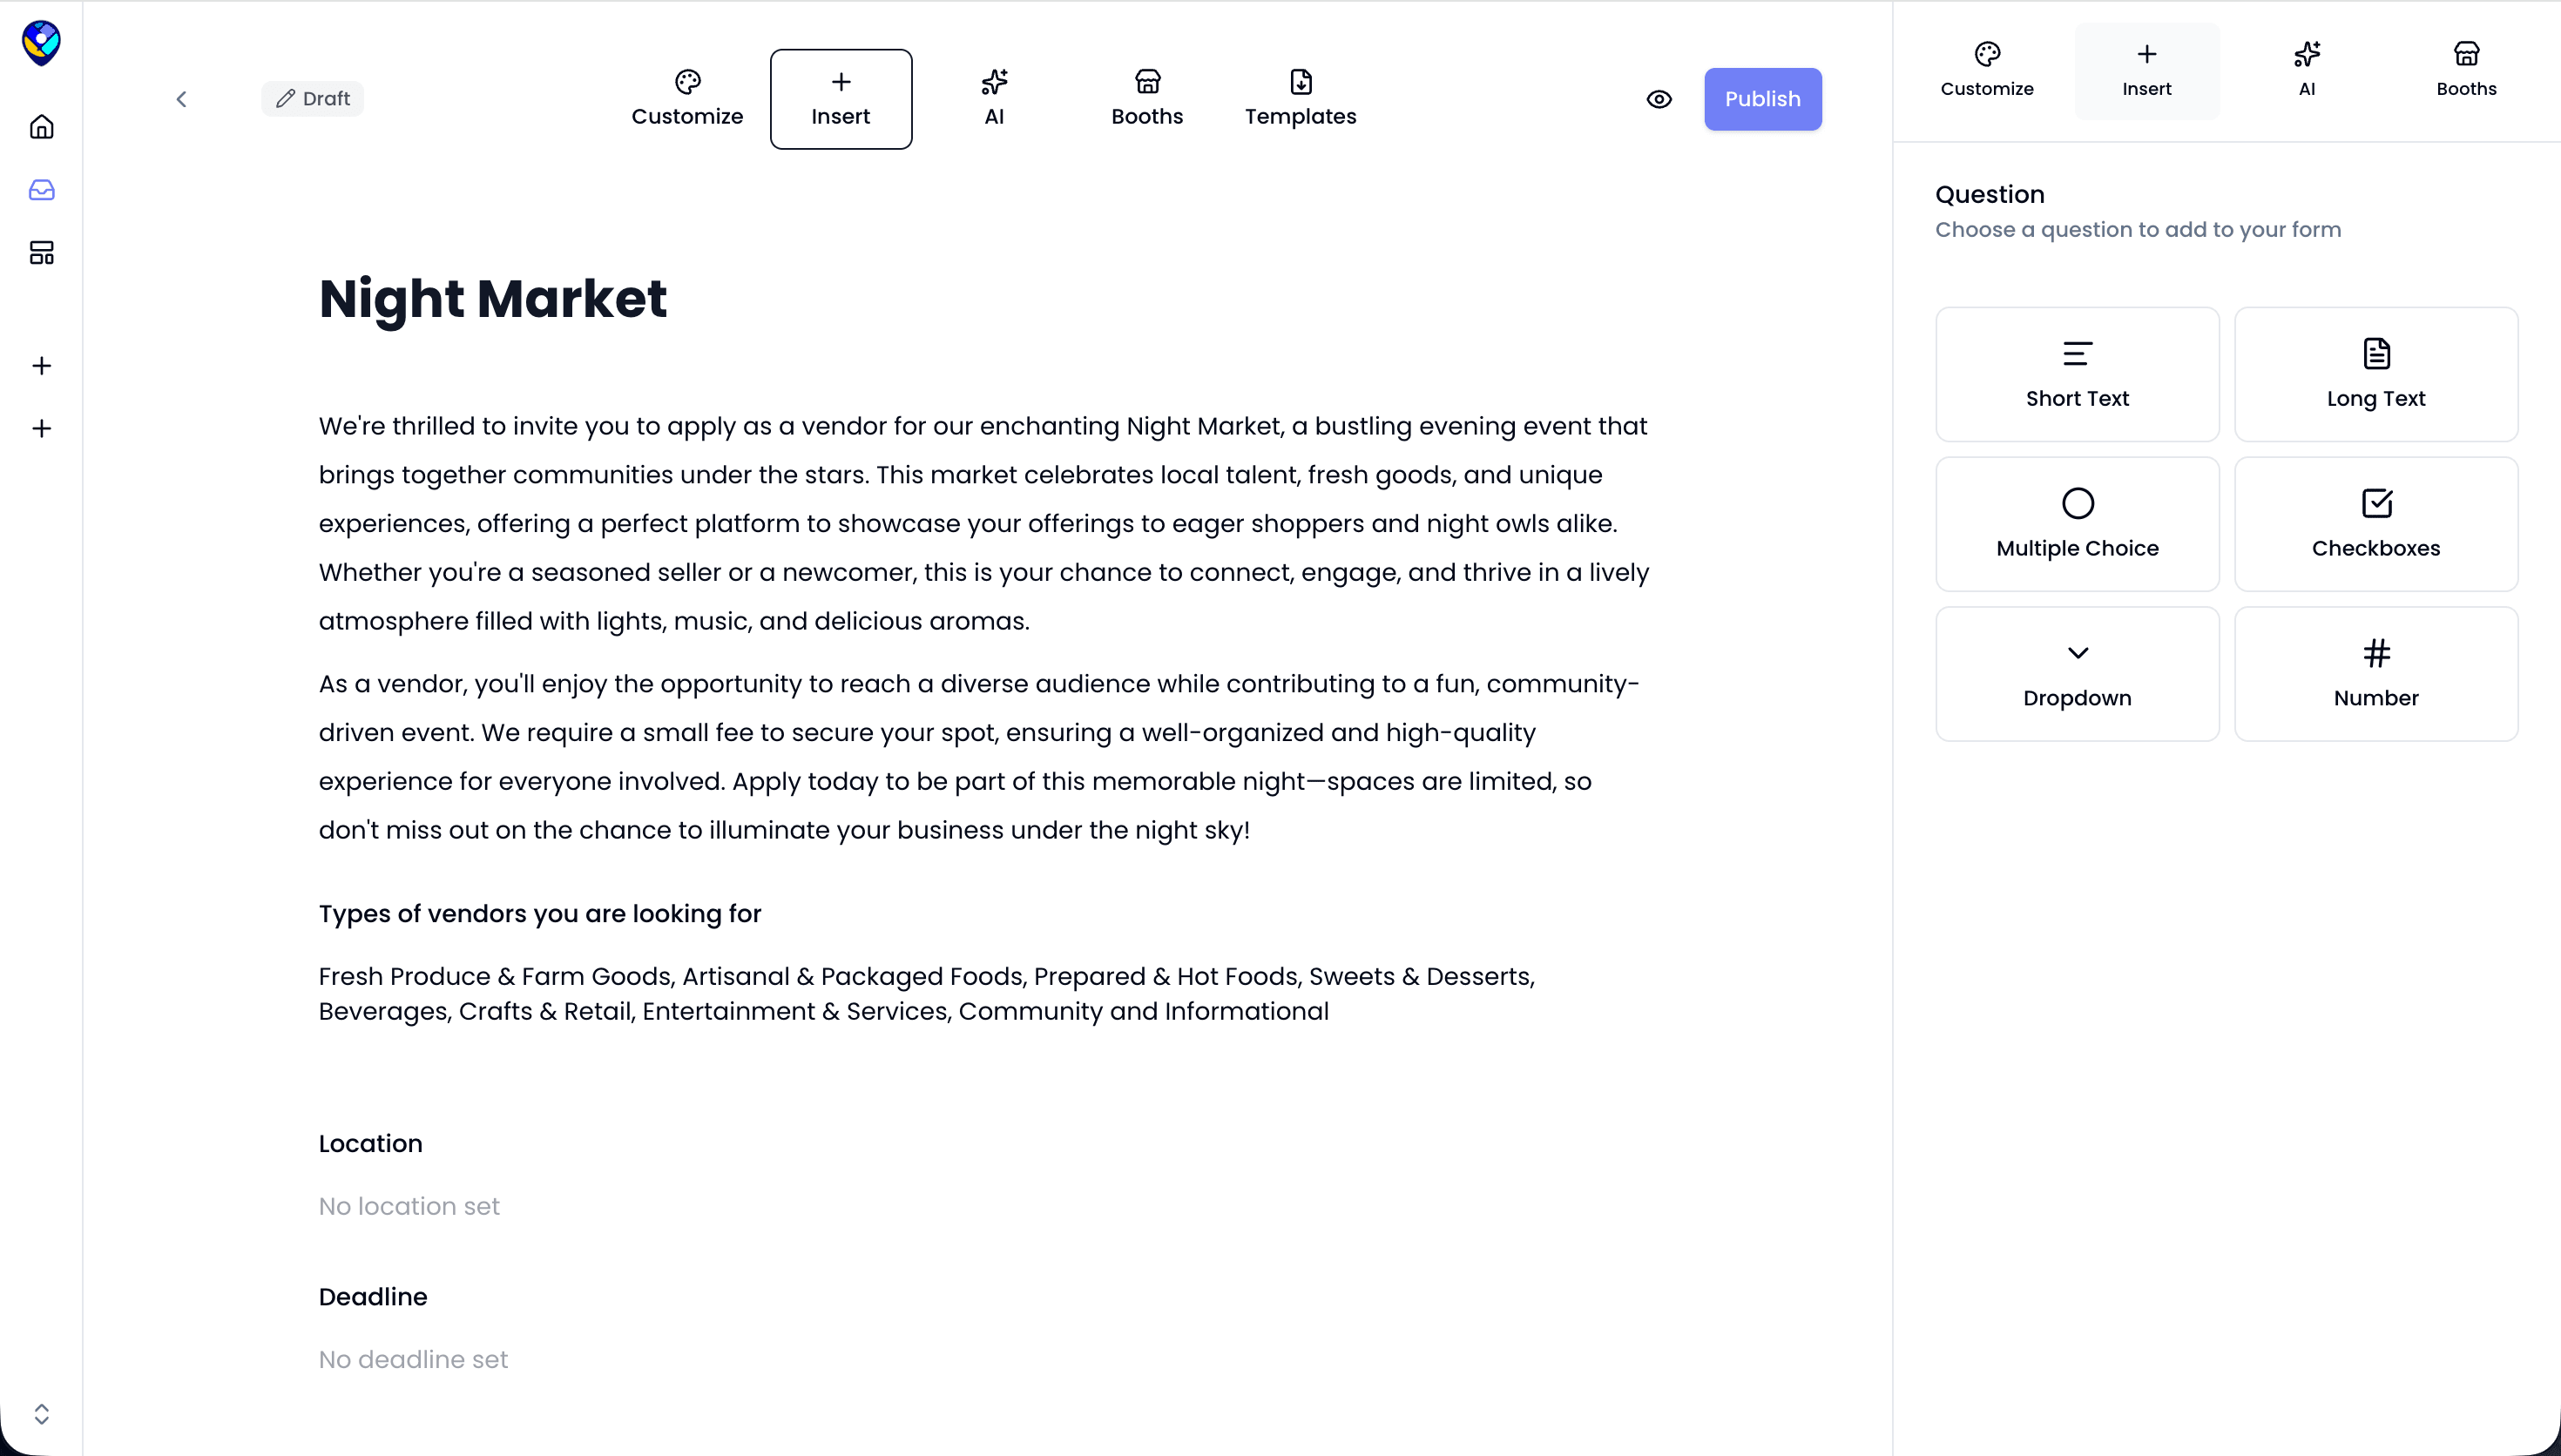
1. What to Include in Your Vendor Registration Form
The goal of your registration form is to collect everything you need to make a decision on each vendor. Missing information upfront means chasing people down later, and that can be a hassle.
At minimum, your form should collect the vendor's business name, booth size preference, vendor type, social media handles, any required permits, and their business license number if applicable.
Booth size matters more than most first-time organizers expect. Knowing whether a vendor needs a 10x10 or a 10x20 lets you plan your layout before anyone shows up.
Events Near Me has vendor application templates built in so you're not starting from scratch. You can customize the fields to match your event, set limits on product categories, and collect everything in one place.
2. Set Booth Fees and Collect Payments
Managing a registration form and payments all in one place will make your life easier.
Chasing booth fees through Venmo or bank transfers after the fact is slow and easy to lose track of. You’ll end up spending hours on admin work instead of growing your market.
Set your booth fees based on your event costs first. Add up your venue, permits, marketing, and supplies, then price your booths to cover that with room left over.
Once your fees are set, collect payment as part of the application process.
Events Near Me connects directly to Stripe so vendors can pay their booth fee when they submit their application. No invoices, no follow-up emails, no unpaid spots showing up on event day. Payments are tracked automatically, so you always know who has paid and who hasn't.
3. Approve Vendors and Manage Your Roster
Once applications start coming in, you need a way to review and approve them without things falling through the cracks.
Events Near Me gives you one-click vendor approvals. You can review each application, approve or decline, and the vendor gets notified automatically. Payments are tied to approval status so you're not manually cross-referencing a spreadsheet to see who owes what.
Managing your vendor roster from one place means less time on admin and more time focused on actually running your event.
Skip the Spreadsheets
Google Forms and spreadsheets can get you started, but they fall apart fast once applications start coming in. No payment collection, no approval workflow, no booth mapping, and no way to text vendors when something changes on event day.
Events Near Me was built specifically for vendor markets and events. Your registration form, booth payments, vendor approvals, and SMS notifications all live in one place. It's free to get started at eventsnearme.io.